Disk Management is the built-in partition tool that allows you to create, delete, format, extend or shrink partitions. In this article we’ll show you 6 simple ways to open Disk Management in Windows 10.
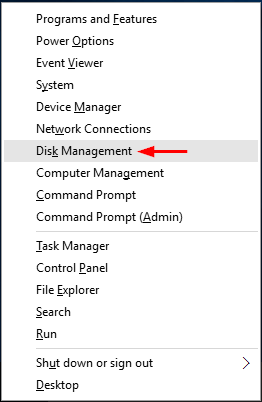
Method 1: Open Disk Management from WinX Menu
- Press the Windows key + X to open the WinX menu, or right-click on the Start button to reveal the WinX menu.
- From there you can click Disk Management to open it.
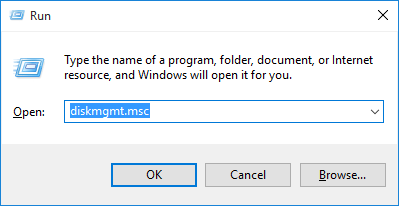
Method 2: Open Disk Management via Run
- Press the Windows key + R to open the Run box.
- Type diskmgmt.msc and press Enter. This will launch Disk Management.
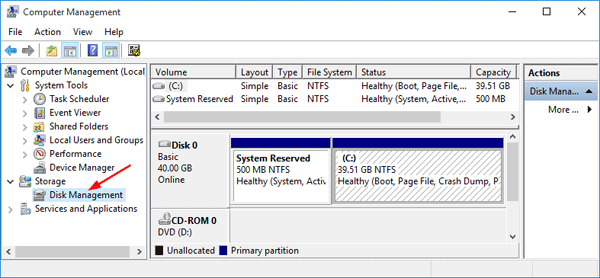
Method 3: Open Disk Management in Computer Management
- Right-click the This PC icon on your desktop and then select Manage from the context menu.
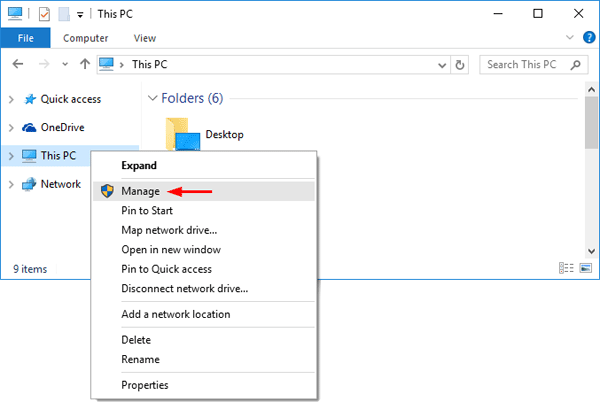
If the This PC icon is not shown, open File Explorer and right-click This PC in the left navigation panel, then select Manage.
- In the left pane of Computer Management, expand Storage and then click Disk Management to open Windows Disk Management window.
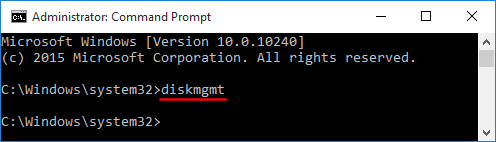
Method 4: Open Disk Management from Command Prompt
- Press the Windows key + X to open the WinX menu, and then click Command Prompt (Admin).
- Type diskmgmt and press Enter. Disk Management will launch quickly.
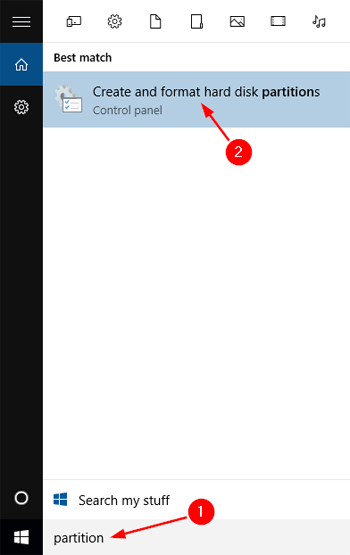
Method 5: Open Disk Management via Search
- Click the Cortana search box from the taskbar. If the search box is hidden, press the Windows key + X to open the WinX menu, then click on Search.
- Type partition in the Search box. Once the search results are shown, click on Create and format hard disk partitions.
Method 6: Open Disk Management from Settings
- Click on the Start button, and then select Settings from the Start menu.
- From the Settings window, click the Search box in the upper right corner and type partition.
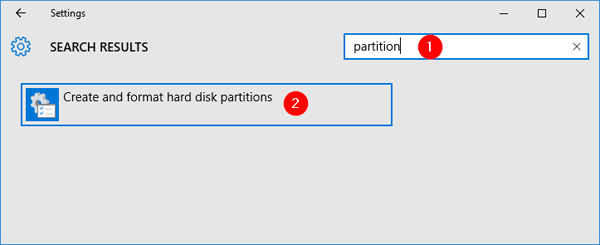
- Once the search results start to show, click “Create and format hard disk partitions“.