How can I disable the lock screen so I can access the sign-in screen directly? If you’re the only person who uses your computer, there is no point in having the lock screen. In this tutorial we’ll show you 2 methods to disable or turn off the lock screen in Windows 11.
Method 1: Turn off or Disable Lock Screen Using Group Policy
- Open Local Group Policy Editor and drill down to:
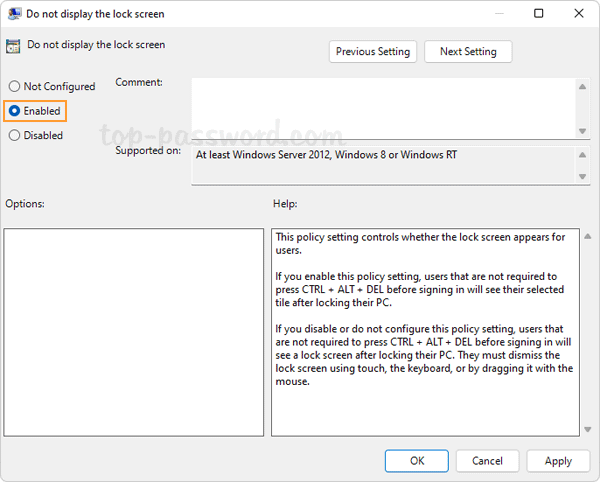
Computer Configuration -> Administrative Templates -> Control Panel -> Personalization. In the right pane, locate and double-click the “Do not display the lock screen” policy.
- Choose the Enabled option. Click Apply and then OK.
- Close Local Group Policy Editor. When you press the Windows key + L keyboard shortcut to lock your computer, it will display the sign-in screen instead of the lock screen.
Method 2: Turn off or Disable Lock Screen Using Registry Editor
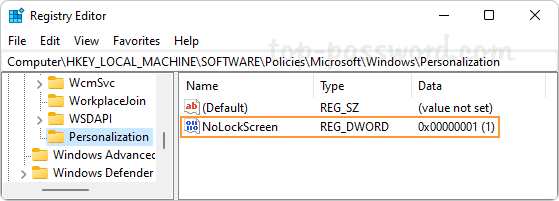
- Open Registry Editor and use the left-hand side to navigate to:
HKEY_LOCAL_MACHINE\SOFTWARE\Policies\Microsoft\Windows. Right-click the Windows key and select New -> Key.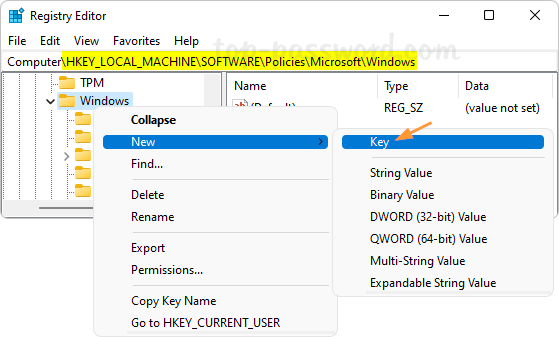
- Name the new key Personalization and then select it. On the right side, right-click the blank area and choose New -> DWORD (32-bit) Value.
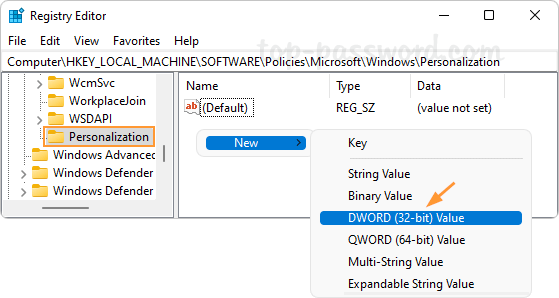
- Name the new DWORD NoLockScreen, and then double-click it and change its value data to 1.
- Close Registry Editor. No matter which method you use to lock your Windows, it will no longer display the lock screen and you’ll see the login screen instead.
That’s it!